Oracle ASM standalone configuration
Standalone Database:
The Oracle Grid Infrastructure for a standalone server is the Oracle software that provides system support for an Oracle database including volume management, file system, and automatic restart capabilities.
ASM server:
Automatic Storage Management (ASM) is an integrated, high-performance database file system and disk manager.
Steps:
l Adding disk group in Virtual Machine
l Grid software Installation
l Oracle software installation
l ASM standalone DB using DBCA tool.
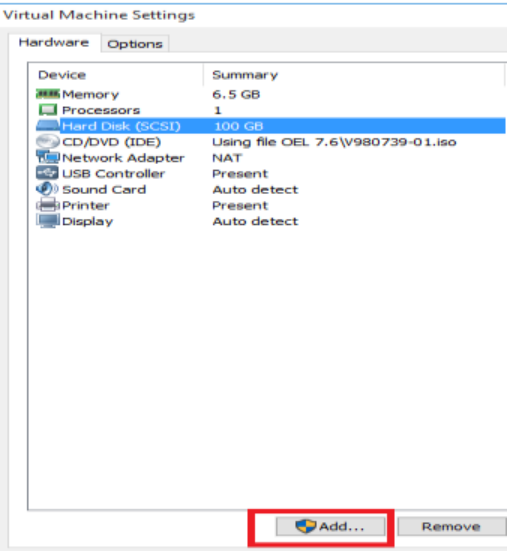
Adding Disk Group in Virtual Machine:
Step 1: Select virtual machine hardware menu and click add button:
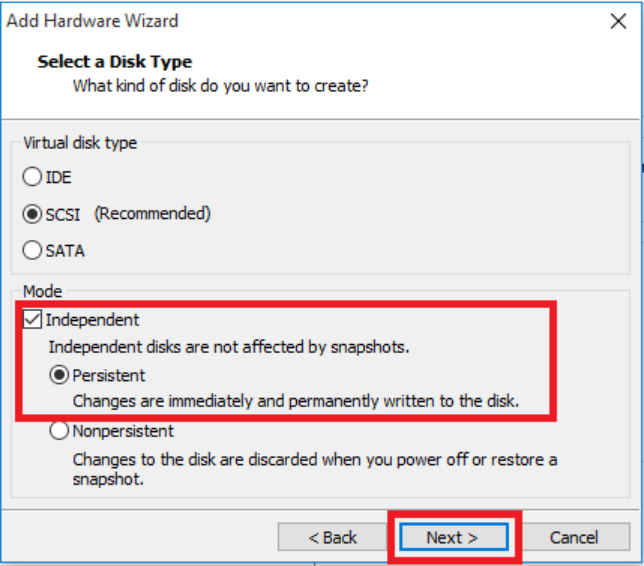
Step 2:- Choose the independent option and click next:
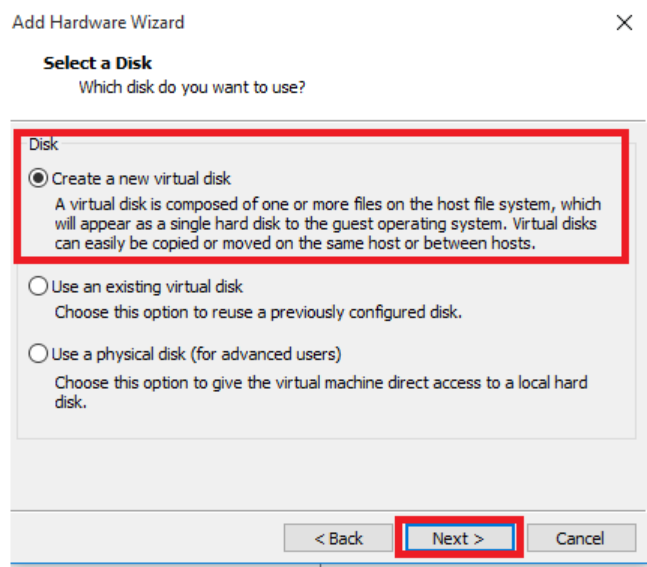
Step 3:- Create new virtual disk and click next:

Step 4:- Choose allocate all disk space now option:
Step 5:- Select the folder name for creating Disk
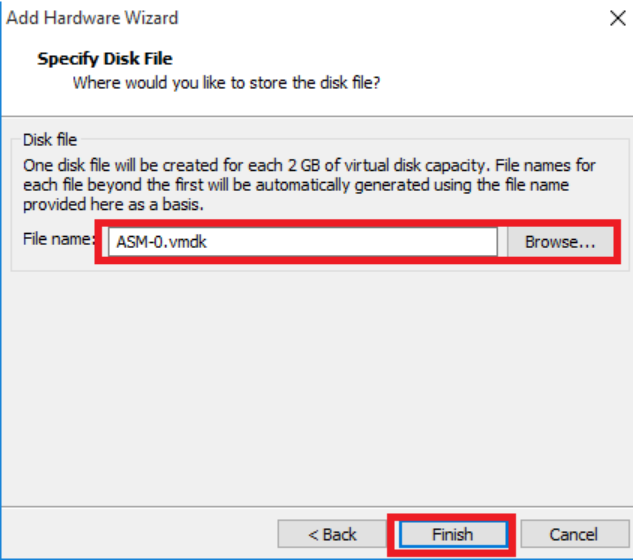
Finally ASM Disk added to the VM

Step 6:- Disk Partion in OS level
Logon to the VM and check fdisk -l

Partition the disks:
fdisk/dev/sdb


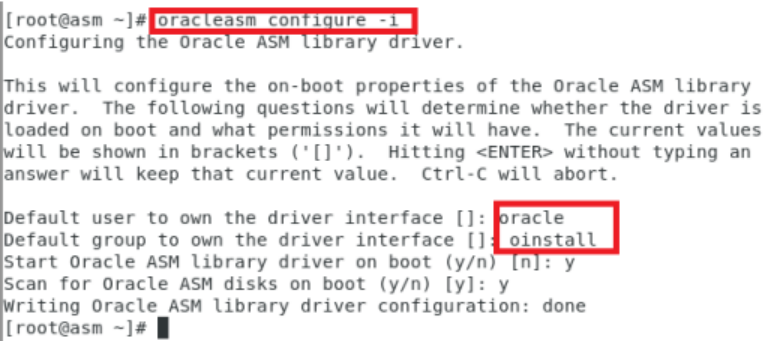
Configure ASMLib using the following command.
oracleasm configure -i
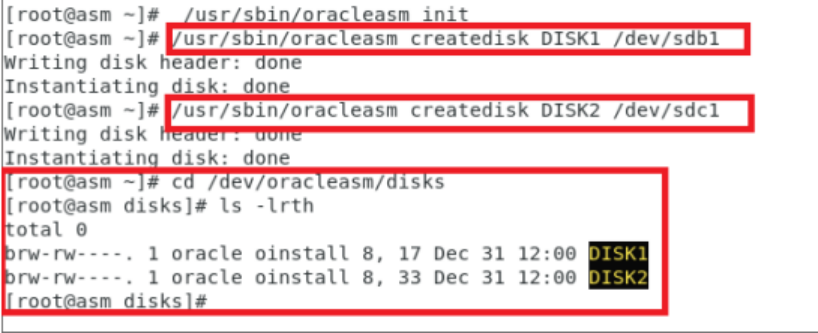
create disk in OS level
/usr/sbin/oracleasm init
/usr/sbin/oracleasm createdisk DISK1 /dev/sdb1
GRID installation pre requests:
Step1 :Check pre-install
Yum search preinstall
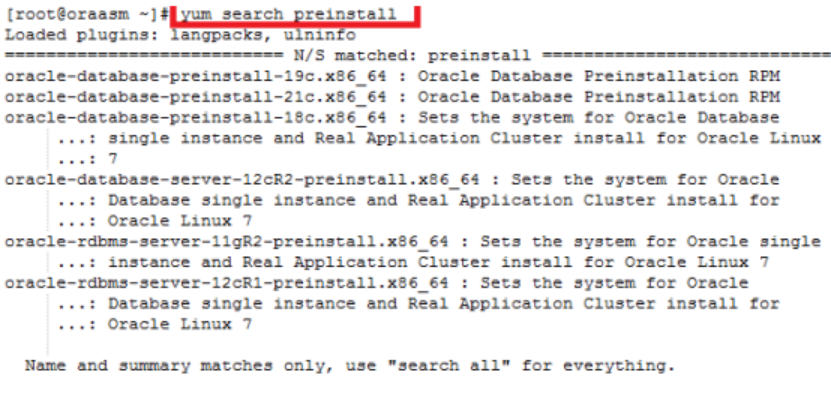
yum install oracle-database-preinstall-19c.x86_64 -y

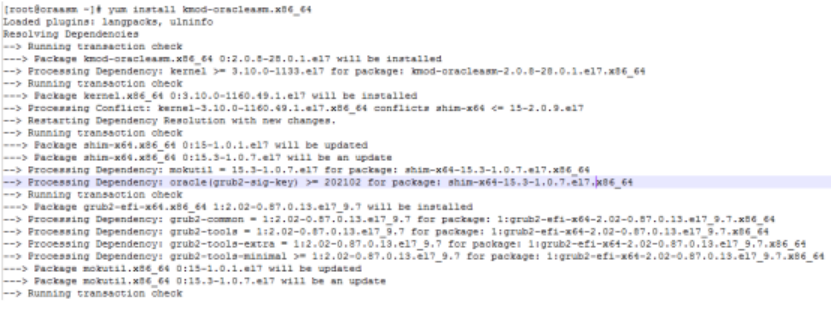
yum install kmod-oracleasm.x86_64
yum install oracleasm-support.x86_64

Create a grid home directory and unzip the grid home:

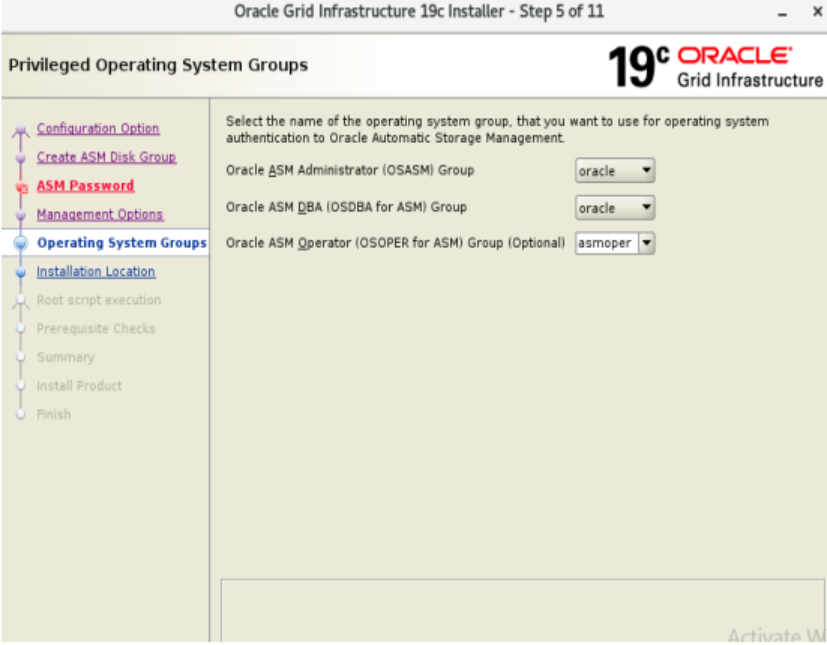
Add asm groups:
[root@asm ~]# groupadd -g 54327 asmdba
[root@asm ~]# groupadd -g 54328 asmoper
[root@asm ~]# groupadd -g 54329 asmadmin
usermod -g oinstall -G dba,oper,backupdba,dgdba,kmdba,asmdba,asmoper,asmadmin,racdba oracle
Install the package cvudisk :
rpm -ivh /u01/app/grid/cv/rpm/cvuqdisk-1.0.10-1.rpm
Run the script:

Oracle Grid software installation:
Step1: Click oracle restart method:

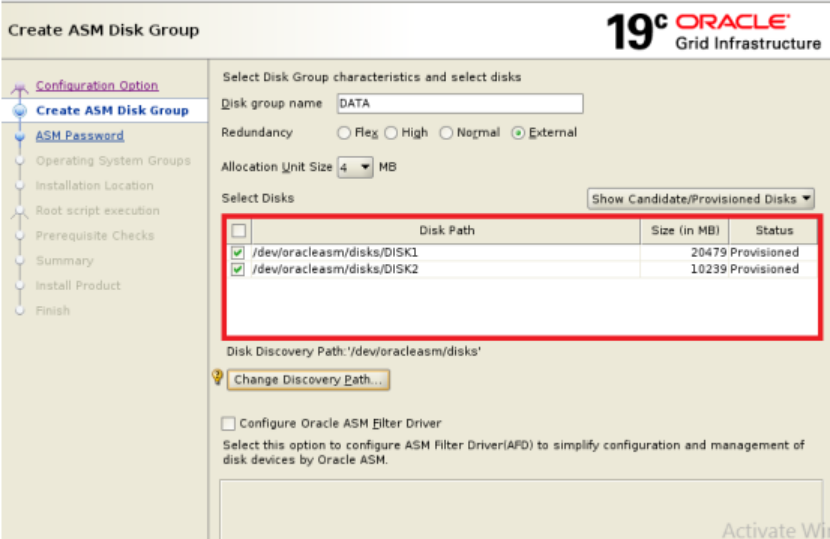
Step 2: Give any disk group name and redundancy as external change the path as /dev/oracleasm/disks

Step 3: Select the disk path
Step 4: Set the password for ASM


Step 5: Check the installation path

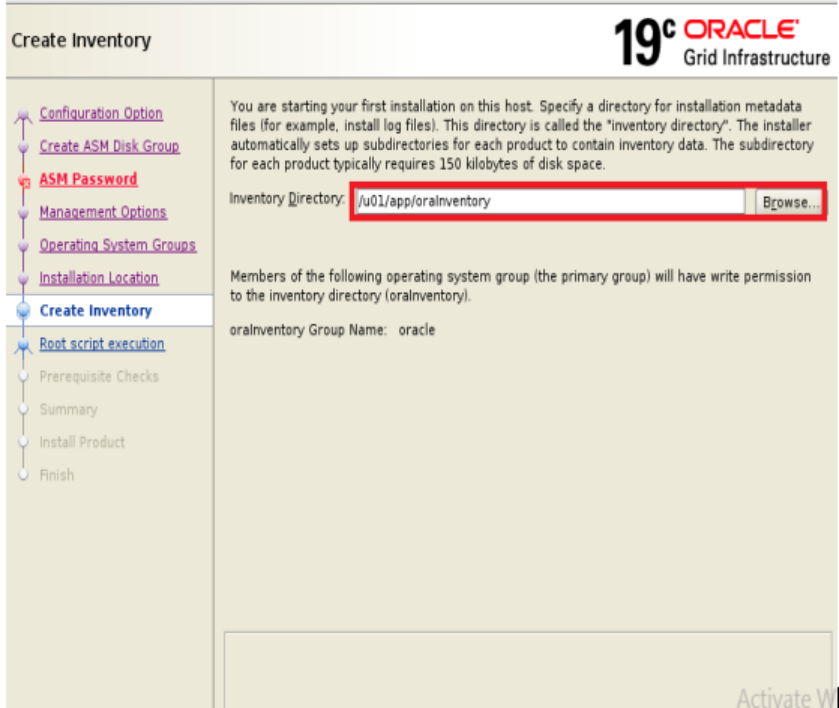
Step 6 :Check the inventory path
Step 7: Give root password to run the script automatically:

Step 8:Summary of grid installation:

Step 9: Running the installation

Completed

Oracle Software installation
Unzip the oracle 19c software in home location
Run the ./runInstaller
Step1:- Choose set up software only option.

Step 2:- Select single instance database installation

Step 3: Choose enterprise edition:


Step 4:-Summary of installation

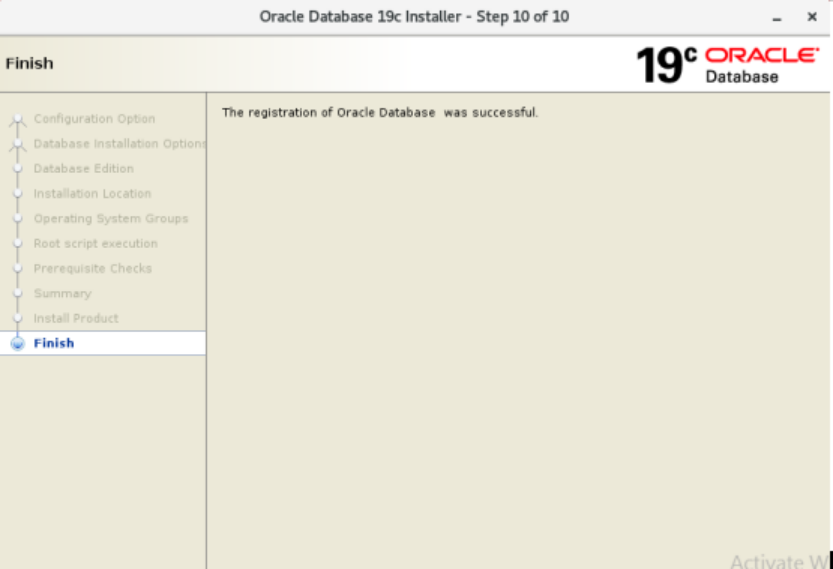
Step 5:- Oracle software installation completed
ASM Standalone Database creation using DBCA Tool:
Step 1: - Select create database:

Step 2: -Give sid name and create admin password also select container database and mention the db name

Step 3: Check the asm configuration

Step 4:-Summary of db creation

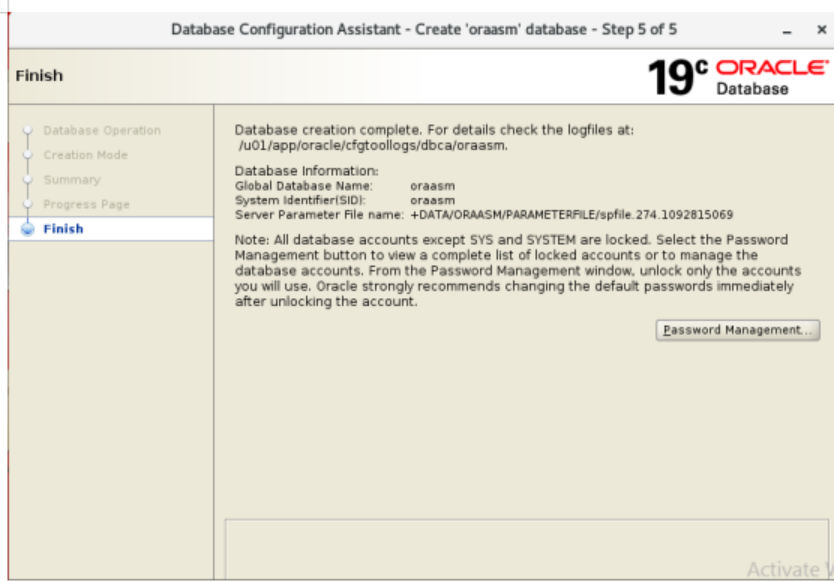

Step 5 :- DB creation complete

Step 6 - Check the ASM standalone database
ASM configured in 19c database.

No comments:
Post a Comment